Your Timer Lied to You: How to Tell When Food Is Actually Done
You followed the recipe exactly. Set the timer for 22 minutes, pulled the dish out right on cue, and somehow ended up with salmon that's raw in the middle or a sheet pan of vegetables that turned to mush. Sound familiar?
Here's the uncomfortable truth: recipe cooking times are estimates. Generous ones, at best. They're written for a hypothetical kitchen with a hypothetical oven running at a hypothetical temperature—and that kitchen almost certainly isn't yours.
That doesn't mean recipes are useless. It means you need a different relationship with the clock.
Why Recipe Times Are Basically a Starting Point
When a recipe developer tests a dish, they're working in one specific environment—one oven, one pan, one altitude, one set of ingredients. When that recipe gets published, it goes out to millions of people cooking in wildly different conditions.
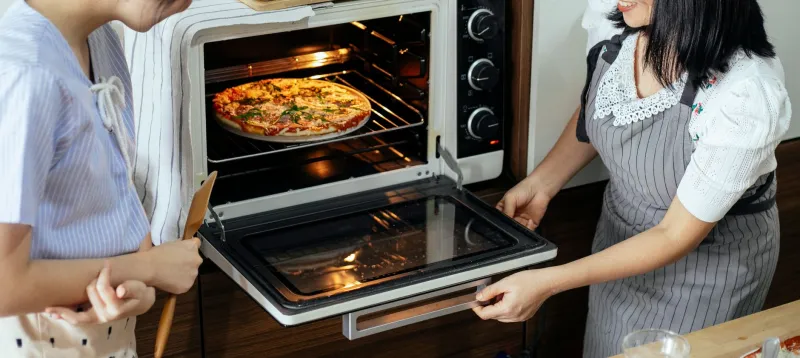
Your oven probably runs hot or cold. Most do. Studies from appliance manufacturers consistently show that home ovens can be off by 25 to 50 degrees Fahrenheit, sometimes more. That's the difference between perfectly caramelized onions and a pan of sad, steaming mush.
Then there's altitude. If you're in Denver, Colorado Springs, or anywhere above 3,500 feet, water boils at a lower temperature, which means pasta takes longer, baked goods behave differently, and braising times shift. Most recipes don't mention altitude once.
Add in pan material (dark pans absorb more heat than light ones), ingredient temperature (cold chicken straight from the fridge takes longer to cook through than room-temperature chicken), and ingredient size variation (that "medium onion" could mean a lot of things), and you've got a recipe for timing chaos.
The Real Skill: Reading Doneness Cues
Professional cooks rarely stare at a timer waiting for permission to check their food. They're watching, listening, smelling, and touching constantly. That's the actual skill—and it's learnable.
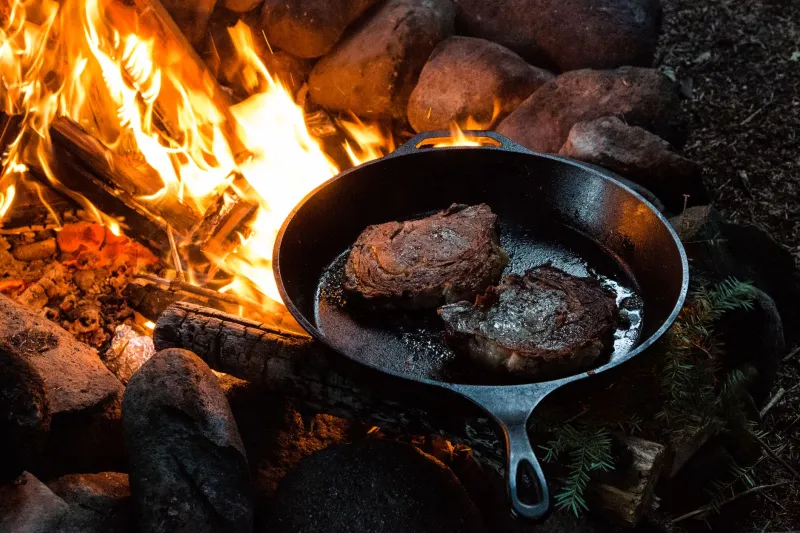
Color and browning. Maillard reaction, the chemical process that creates browning and flavor, is one of the most reliable visual cues in cooking. If your roasted vegetables aren't showing golden edges, they're not done—regardless of what the clock says. If your sautéed garlic is turning deep brown instead of pale gold, it's burning, not finishing.
Sound. A pan that goes quiet when it should be sizzling means moisture has evaporated and you're likely overcooking. A loud, aggressive sizzle when you add something to oil means the pan is hot enough to sear properly. Listen to your food—it's telling you things.
Touch and resistance. Press the center of a chicken breast. If it feels soft and squishy, it needs more time. If it springs back firmly, it's likely done. Pasta should have a tiny bit of resistance when you bite it—not crunchy, not soft all the way through. Cake layers pull away from the pan edges slightly when they're ready.
Internal temperature. A meat thermometer is the single most underused tool in American home kitchens. Chicken should hit 165°F internally. Pork loin is safe and still juicy at 145°F. Ground beef needs to reach 160°F. Don't guess—check.
A Framework for Adjusting on the Fly
Rather than blindly following recipe times, build a simple mental framework every time you cook.
Check early, not late. Start checking for doneness at about 75% of the listed time. You can always cook something longer—you can't un-overcook it. If a recipe says 40 minutes, check at 30. This one habit will save more dinners than any other.
Know your oven's personality. Pick up an inexpensive oven thermometer (they're usually under $15 at any kitchen store or online). Run it for a week and note the difference between your dial setting and the actual temperature. If your oven runs 25 degrees hot, you now know to set it 25 degrees lower than recipes call for. Simple fix, huge impact.
Account for carry-over cooking. Meat continues cooking after you pull it off heat. A steak or chicken breast can rise another 5 degrees internally while resting. If you wait until your thermometer hits the target temperature before pulling it, you'll overshoot. Pull proteins a few degrees early and let them rest.
Adjust for pan color and material. If you're using a dark nonstick pan instead of a light stainless or ceramic one, reduce oven temperature by about 25 degrees or check a few minutes early. Dark pans absorb more radiant heat and brown food faster.
The Weeknight Application
For busy home cooks, this isn't about becoming a culinary scientist. It's about building a few quick habits that make your cooking more reliable every single night.
Before you set a timer, ask yourself three things: Is my oven preheated long enough (at least 15 to 20 minutes)? Are my proteins at or near room temperature? Is my pan the right size for what I'm cooking? A crowded pan steams instead of sears. An undersized pot of water takes forever to come back to a boil after you add pasta.
Then, when the timer goes off, treat it as a reminder to check—not a signal that food is done. Look at the color. Listen for sizzle. Press the protein. Check the thermometer. Let what you see and feel make the final call.
Recipes are road maps, not GPS systems. They'll get you in the right direction, but the final turns are yours to navigate. Once you stop treating cooking times as gospel and start treating them as a rough guide, your food will get better almost immediately—and you'll stop blaming recipes for problems that were never really about the recipe at all.